Prerequisite
Before continuing on reading the blog, I would assume
- You know what Gatsby is
- You know how to use Gatsby in general
- You have read Gastby tutorials and know how to set up a blogging site with Gatsby
If you follow the tutorials on Gatsby site, you've created a nice blogging website. However, they only introduced one template for all blog posts. In some cases, you might want to have different blog types for different content you write. I ran into this issue when I developed a documentation site with Gatsby for my company. Therefore, I am going to write the solution that I've found so far.
Starting point
We will start with a Gatsby starter blog by running. You might need to install gatsby-cli to be able to run gatsby command.
gatsby new gatsby-starter-blog https://github.com/gatsbyjs/gatsby-starter-blogTo install dependencies, run
npm iTo start up the local development, run
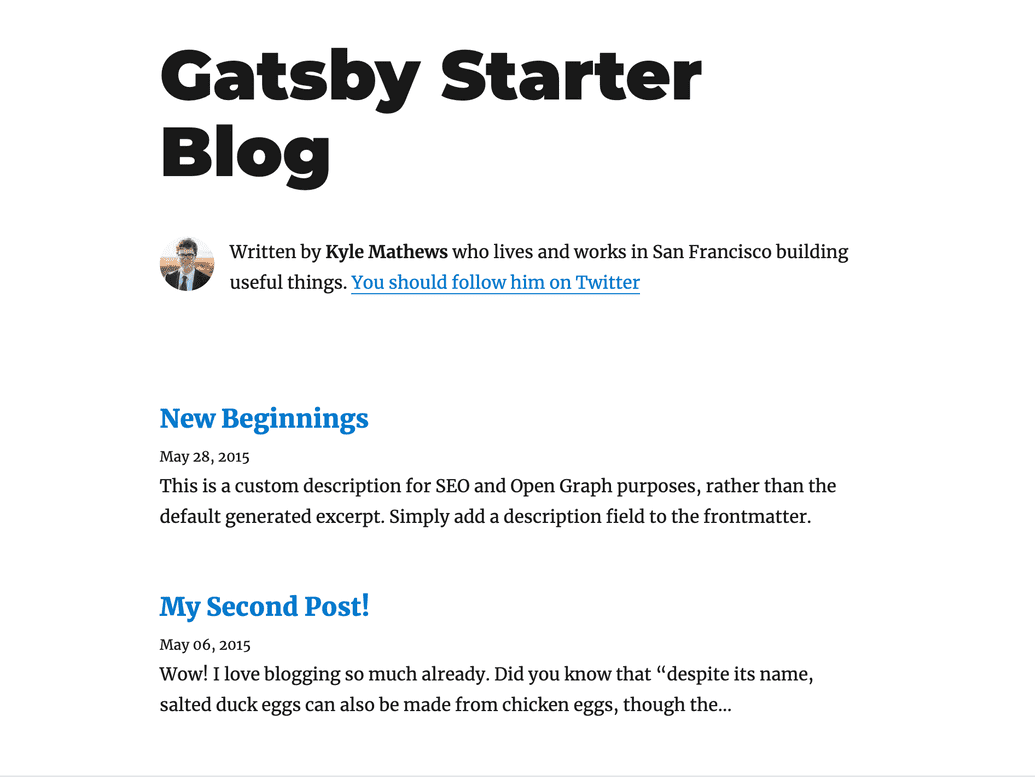
npm startNavigate to http://localhost:8000/, you will see a blog site looking like this:
so, at this point, we only have one template for blog post, which is located at src/templates/blog-post.
Let's say we want to have content which we want to use a different template. Let's call it project page. If we want the Gatsby site to be able to consume different templates for various blog type.
Here are what we need to do:
- Create a new folder for different blog type
- Add source system file for new folder content in
gatsby-config - Create Project Page template
- Edit
gatsby-node.jsto apply different templates for some blog types insidecreatePageAPI
1. Create a new folder for different blog type
First, we need to add a projects folder and add a new post to it. The post should contain two required a title, date, and description which Gatsby will query as frontmatter.
Importantly, we need to add one more field type to distinguish different type of post, which we will use to tell Gatsby which template to use during build time
---
title: My First Project Post!
date: "2020-05-06T23:46:37.121Z"
description: 'This is my first project post'
post: project
---
2. Add source system file for new folder content in gatsby-config.js
Next, we need to tell Gatsby to source the files the project folder into the application, as the same way we do with the blog content
{
    resolve: `gatsby-source-filesystem`,
    options: {
       path: `${__dirname}/content/projects`,
        name: `projects`,
    },
}
3. Create Project Page template
Now we will create our project-post template so that we can use it in Gatsby createPages. We can just copy everything from the blog-post and rename the query BlogPostBySlug to ProjectPostBySlug.
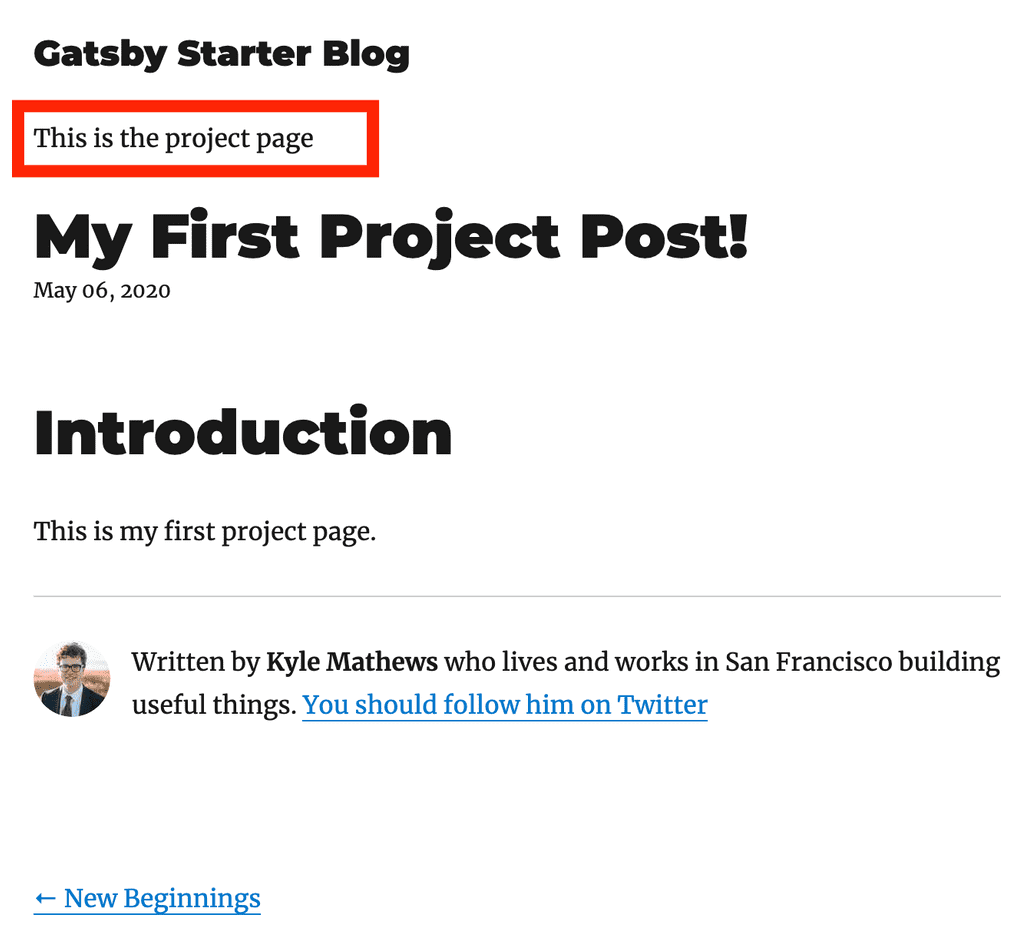
Let's name the component ProjectPostTemplate. We should add a small text at the beginning to differentiate it with BlogPost.
const ProjectPostTemplate = ({ data, pageContext, location }) => {
  const post = data.markdownRemark
  const siteTitle = data.site.siteMetadata.title
  const { previous, next } = pageContext

  return (
    <Layout location={location} title={siteTitle}>
      <SEO
        title={post.frontmatter.title}
        description={post.frontmatter.description || post.excerpt}
      />
      <article>
        <header>
          <bold>This is the project page</bold>          // other lines of code
        </header>

        // other lines of code
      </article>
      // other lines of code
    </Layout>
  )
}
4. - Edit gatsby-node.js to apply different templates for some blog types inside createPage API
During the creating pages step, we query all the markdown to get all the nodes, each of which contains data about each blog post. We will iterate through each node and create a page with createPage API.
To make it work for project page template, first, we need to import the template, we can put it under the blog post import
const blogPost = path.resolve(`./src/templates/blog-post.js`)
const projectPost = path.resolve(`./src/templates/project-post.js`)
We also need to add to GraphQL query the type so that we can use later in our iteration
const result = await graphql(
    `
      {
        allMarkdownRemark(
          sort: { fields: [frontmatter___date], order: DESC }
          limit: 1000
        ) {
          edges {
            node {
              fields {
                slug
              }
              frontmatter {
                title
                type              }
            }
          }
        }
      }
    `
  )
Now while we are looping through each node, we will have a condition based on type to tell Gatsby which template it should use.
If the type is project, we will pass projectPost as the value for component in the createPage. Otherwise, the default blog type is blogPost
posts.forEach((post, index) => {
    const previous = index === posts.length - 1 ? null : posts[index + 1].node
    const next = index === 0 ? null : posts[index - 1].node

    if (post.node.frontmatter.type === 'project') {      createPage({        path: post.node.fields.slug,        component: projectPost,        context: {          slug: post.node.fields.slug,          previous,          next,        },      })    } else {      createPage({        path: post.node.fields.slug,        component: blogPost,        context: {          slug: post.node.fields.slug,          previous,          next,        },      })    }  })
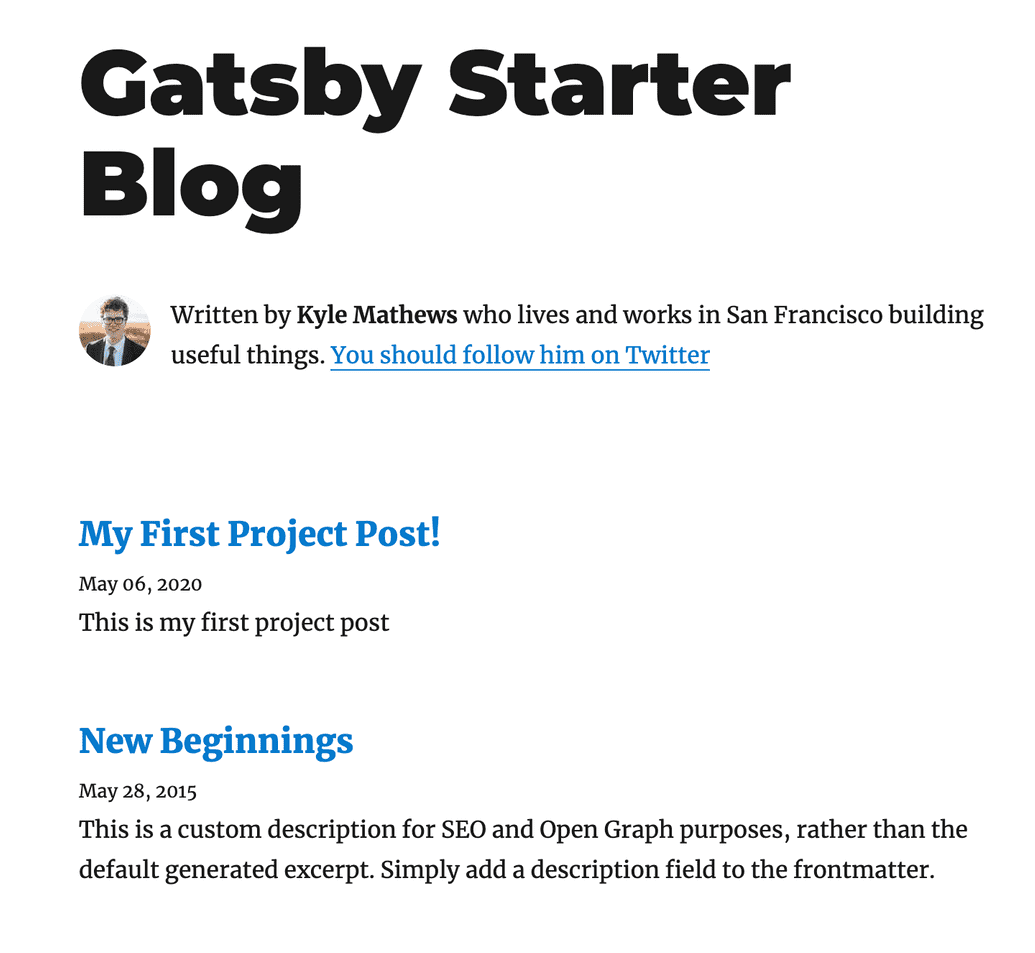
At this step, the main page should have our project post(s).
If we click on the first post, we will see the project template is used correctly.
That is the basic way of using different templates in Gatsby.
In some use cases, you may not want to query all the markdown. You can use GraphQL filter to only query the markdown content in a specific path by using absolutePath. For example:
export const listQuery = graphql`
  query ListQuery {
    blog: allMarkdownRemark(
      sort: { order: DESC, fields: [frontmatter___date] }
      filter: {fileAbsolutePath: {regex: "/blog/*.\\md$"}}
    ) {
      edges {
        node {
          fields {
            slug
          }
          excerpt(pruneLength: 200)
          frontmatter {
            date(formatString: "MMMM Do, YYYY")
            title
            description
          }
        }
      }
    }
  }
  project: allMarkdownRemark(
    sort: { order: DESC, fields: [frontmatter___date] }
    filter: {fileAbsolutePath: {regex: "/project/*.\\md$"}}
  ) {
    edges {
      node {
        fields {
          slug
        }
        excerpt(pruneLength: 200)
        frontmatter {
          date(formatString: "MMMM Do, YYYY")
          title
          description
        }
      }
    }
  }
}
`
In this example, blog and project are aliases, so you can use them in your component as props.data.blog and props.data.projects
You can find the full repo here
That's it for today! Thanks for reading.


